

Preparing your polytunnel for planting
23rd May 2021
You’ve purchased your polytunnel, you’ve chosen your site and you’ve put the tunnel up and made sure it’s securely anchored. After pausing for a few moments to congratulate yourself on a job well done, and of course taking a few photos to share on social media, you’ll be keen to begin planting.
But before you begin growing your plants and crops it’s worthwhile planning the layout of your polytunnel and completing a few tasks to make sure you make the absolute most of your new growing space.
Tasks to prepare your polytunnel for under cover gardening include:
- Making your access path.
- Work the soil.
- Plan the space.
- Build raised beds.
- Bring in the pots and grow bags.
- Make your workspace.
- Prepare your maintenance plan.
Let’s look at each of those in a little more detail.
Making your access path
You’ll need a clear access path running the length of the polytunnel. The path can be made simply from mulch, gravel or paving slabs. If you use mulch or gravel lay a timber retaining edge.
The path will make it easier for you to get to all your plants but also allows easy access for wheelbarrows and other equipment.
Make sure the path is wide enough to walk on and for the wheelbarrow. It’s usually best to make the path slightly off-centre so you can use the centre poles in the tunnel for hanging baskets.
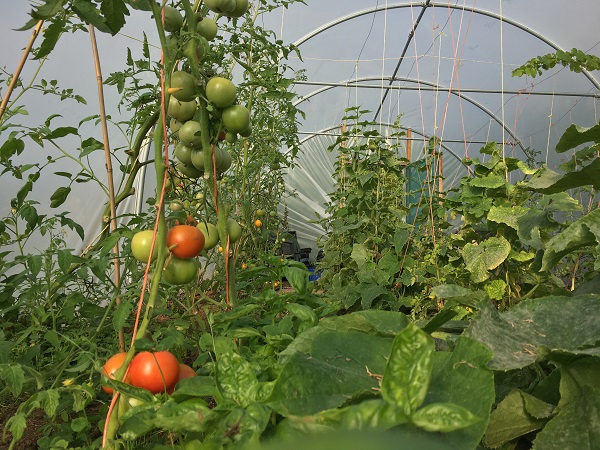
Work the soil
The soil inside the tunnel will be the same as that outside it so the chances are you already know its properties. If you do need to test the PH level, you’re looking for around 6.5 for successful vegetable growing.
If you’re growing directly into the soil add compost and improve the soil just as you would if you were planting outside the tunnel. Do make sure you have taken care of any perennial weeds as they will cause problems further down the line if left untreated.
Plan the space
This is always a bit of fun. But also, an important job to get right. If this is your first polytunnel it’s likely that it will be the largest ‘under cover’ planting space you’ve had. Even if you’ve previously owned a greenhouse the chances are that it was much smaller than your polytunnel.
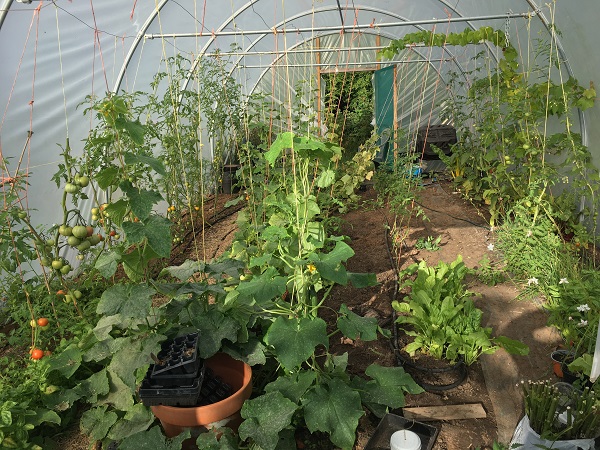
All the extra space is great but you do need to ensure you utilise it efficiently. You should map out any bedding areas and a workspace if you’re having one. And, depending on what you intend to grow, you’ll need to work out a rotation plan.
Split the tunnel space into blocks, a badly drawn plan on a piece of card will suffice, and note down a 12-month rotation plan. You don’t want to deplete the soil by continually cultivating without giving each area a chance to rest. Though you could of course choose to replace the soil regularly instead. But that does take a fair amount of work.
Build raised beds
You don’t have to use them of course. Many polytunnel owners plant directly into the soil. But if you are planning to use raised beds it’s wise to think through their placement and whether you are going to use large beds or multiple smaller ones.
Smaller raised beds will allow you to easily replace or replenish the soil. It also allows you to separate groups into distinct growing areas.
Make your raised beds from timber off-cuts, reclaimed bricks or railway sleepers. Of course, the overall space in the tunnel will dictate the size and numbers of raised beds you can accommodate.
Bring in the pots and grow bags
Containers and grow bags are perfect for under cover growing in polytunnels. It’s worth allocating space for grow bags as they are a great way to grow crops like tomatoes and can provide rest for the soil in other parts of the polytunnel.
Make your workspace
If you’re going to have a potting bench it’s best to get it in position before you lay out the rest of the areas. Not everyone has a workspace in their tunnel but if you don’t have a shed or greenhouse incorporating a workspace will allow you to potter around. And when it’s pouring down outside you can be working away in the warmth and dry of your tunnel.
Prepare your maintenance plan
As well as planning out your crops and rotation it’s worthwhile thinking about maintenance. Not of your plants but of the polytunnel itself. Small rips in the cover can be repaired, the tension of the cover tightened and the polythene cleaned.
The cover will naturally become stained with dirt and algae. Once a year it will pay to give it a good clean. It’s probably best to do this in winter when the tunnel isn’t so full of crops.
Remove the cover, hose it down and brush off excess water and dirt with a soft brush. Don’t forget to clean the inside of the cover as well to ensure the maximum amount of light is able to get in.
Start planting
Once all your planning and preparation is done you can move on to the fun stuff. Planting and growing crops and plants throughout the year under cover in your polytunnel.
You may also be interested in:
Buyers Guide Traditional Polytunnels Replacement Covers Commercial Polytunnels